Calibration of blood chemistry analyzers is crucial for obtaining accurate and reliable results, essential for patient care. Proper calibration ensures that the measurements taken by the analyzer are accurate, providing trustworthy data for diagnosing and monitoring medical conditions. Here’s a comprehensive step-by-step guide to calibrate your blood chemistry analyzer effectively.
Step 1: Preparation
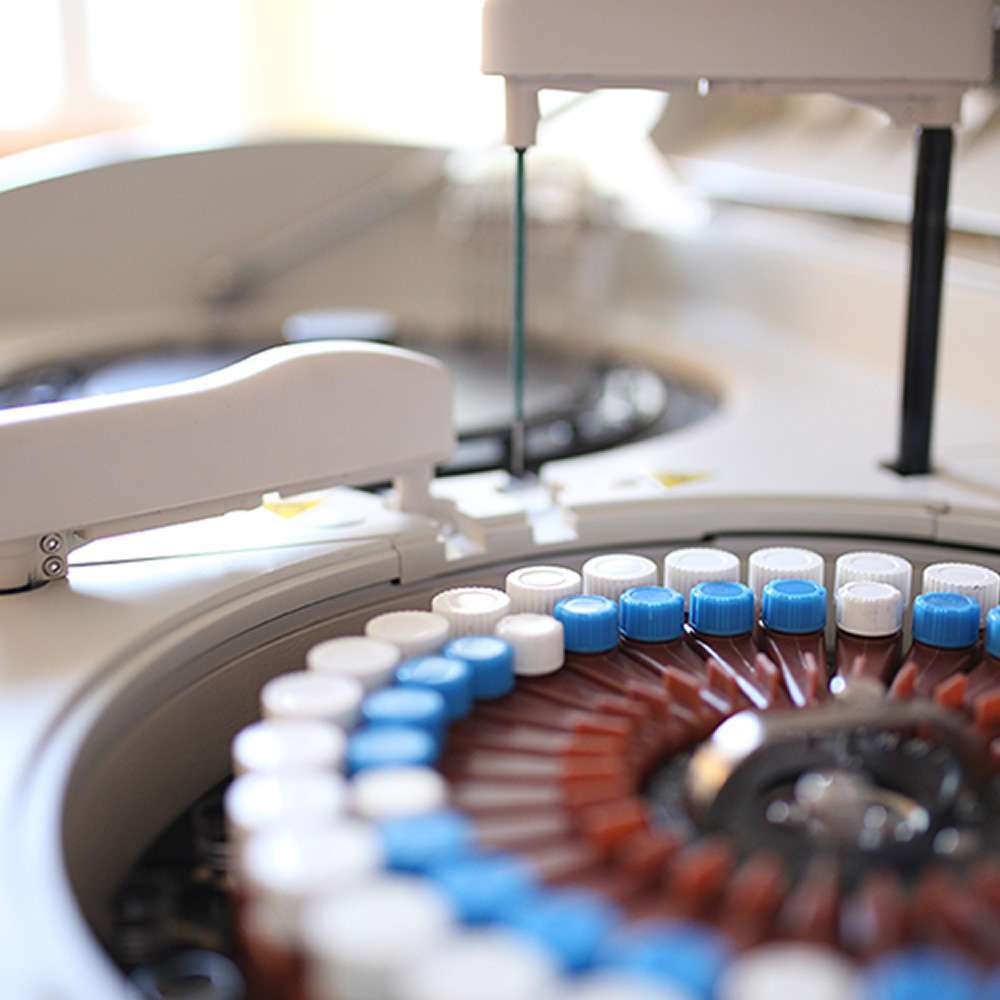
Gather Necessary Materials
- Calibration standards or control materials
- Manufacturer’s calibration guidelines
- Personal Protective Equipment (PPE)
- Clean workspace
Check Analyzer Status
- Ensure the analyzer is clean and free of any residual samples.
- Verify that the analyzer is functioning properly and that all components are in good working condition.
Step 2: Initial Setup
Power On the Analyzer
- Turn on the blood chemistry analyzer and allow it to complete its startup routine.
- Ensure the system is at the correct operating temperature.
Software and System Checks
- Verify that the analyzer’s software is up to date.
- Check for any error messages or alerts that may need attention.
Step 3: Calibration Procedure
Select Calibration Mode
- Access the calibration menu on the analyzer’s interface.
- Choose the appropriate calibration mode as specified by the manufacturer.
Prepare Calibration Standards
- Select the correct calibration standards for the parameters you are calibrating.
- Ensure the standards are within their expiration dates and have been stored properly.
Run Calibration Standards
- Load the calibration standards into the analyzer according to the manufacturer’s instructions.
- Initiate the calibration process via the analyzer’s interface.
Monitor Calibration Process
- Observe the analyzer as it processes the calibration standards.
- Ensure there are no interruptions or errors during the calibration.
Step 4: Validation
Check Calibration Results
- Once the calibration is complete, review the results to ensure they fall within the acceptable range.
- Compare the analyzer’s results with known values of the calibration standards.
Run Quality Control Samples
- To validate the calibration, run quality control (QC) samples.
- Ensure that QC results are within the specified limits.
Step 5: Troubleshooting
Address Any Issues
- If calibration results or QC samples are outside acceptable ranges, investigate potential issues.
- Check for common problems such as incorrect standards, expired reagents, or instrument errors.
Repeat Calibration if Necessary
- If issues are identified and corrected, repeat the calibration process.
- Ensure all steps are followed meticulously to avoid recurring problems.
Step 6: Documentation
Record Keeping
- Document all calibration procedures, results, and any corrective actions taken.
- Maintain calibration records as per regulatory and laboratory requirements.
Update Calibration Schedule
- Note the next scheduled calibration date based on the manufacturer’s recommendations or laboratory protocol.
Best Practices
Regular Calibration
- Adhere to a strict calibration schedule to ensure ongoing accuracy and reliability of results.
- Perform additional calibrations if there are any changes to the analyzer’s environment or after major maintenance.
Staff Training
- Ensure all laboratory personnel are adequately trained in the calibration process.
- Provide regular updates and training sessions to keep staff informed about any new procedures or updates.
Quality Control
- Implement robust quality control procedures to regularly verify the analyzer’s performance.
- Use control samples that mimic patient samples to ensure comprehensive validation.
Environmental Considerations
- Maintain a stable laboratory environment, controlling for temperature, humidity, and other factors that could affect analyzer performance.
By following these steps and best practices, you can ensure the accuracy and reliability of your blood chemistry analyzer, ultimately leading to better patient outcomes. Regular calibration not only upholds the integrity of test results but also enhances the overall efficiency and credibility of your laboratory operations.
FAQs (Frequently Asked Questions)
How often should I calibrate my blood chemistry analyzer?
The frequency of calibration depends on the manufacturer’s guidelines, the specific analyzer in use, and the laboratory’s protocols. Typically, calibration is performed daily, weekly, or monthly. Additional calibrations may be necessary after major maintenance, software updates, or changes in the analyzer’s environment.
What are calibration standards, and why are they important?
Calibration standards are reference materials with known concentrations of analytes used to set the accuracy of the analyzer. They ensure that the measurements taken by the analyzer are accurate and reliable, providing a baseline for comparison with patient samples.
What should I do if my calibration results are out of range?
If calibration results are out of the acceptable range, check for potential issues such as expired reagents, incorrect standards, or instrument errors. Address any identified problems, and repeat the calibration process. Consult the manufacturer’s guidelines and support if the issue persists.
Why is it necessary to run quality control (QC) samples after calibration?
Running QC samples after calibration verifies that the calibration was successful and that the analyzer is providing accurate and reliable results. QC samples act as a secondary check to ensure the system is functioning correctly.
What personal protective equipment (PPE) should be used during calibration?
Standard PPE for handling blood chemistry analyzers includes lab coats, gloves, and safety glasses. PPE helps protect laboratory personnel from potential exposure to hazardous substances and ensures a clean and safe working environment.